Thursday 26 March 2015

Week Twenty Five: Projection Painting?


Did I finally learn to Projection map? Did I manage to polypaint in z Brush? Well this post will answer your question. Or maybe you didn’t care in the first place. That’s cool with me. Have a tree that looks like its screaming. 


I finished the modelling the hollowed out foliage assets on Monday and the next following two days was devoted to unwrapping them appropriately, using the cylindrical unwrap. The most important events of this week was the projection mapping in 3DS Max and the polypainting in Z Brush.

Thursday was when I first learnt to Projection Map. Projection mapping is one of the alternatives to creating a height map to create a normal, the other known technique to me involves, creating a higher poly model and baking it down to a lower poly one. In projection mapping, you create a model of the object or pattern that you want to put on your normal map. The positive to this is that you get a clean normal map, but it can be quite time consuming, but lucky you don’t have to be that clean with the geometry and can turbo smooth it.

In the Projection mapping I was taught, I ended up using 3 layers of planes. The bottom plane, The Projection_Ref plane is the template unwrap of the model I'm creating a normal map for. This is used to plan out the layout of the map. The projected plane is the plane which will create the normal map, I was recommended that everything your mapping should be attached just to keep the file clean. The projection_plane is the plane in which the normal map will be created on.
Current look of the projection plane.
The produced normal map. You do have to do some slight edits in photoshop to make sure it's perfect for the template.

The normal map in use in engine (Unreal 4) on the model.
Friday was filled with learning to poly paint in Z Brush. This was surprisingly simple, and was taught some really good tips involving this process. I was taught to put all reference images on a photoshop file and save as a jpg, before placing it in the textures and painting with these pictures straight onto the model with spotlight. I’ve already seen a marked change in my textures with them already looking better. I also taught myself how to use the layers in zbrush to allow me to paint on multiple layers of the same object, so the texture below isn't affected. 
A combination of screenshots, top left side the active spotlighting, where you change numerous variables of this program. The bottom right in paint mode in the spotlighting, where you paint straight onto the model.

Week Twenty Four: I Can Model Hard Surfaces and Characters, But Not Trees.


So with the end of last week’s blog a stated that next week will involve me learning projection mapping and Polypainting in Z brush. Well, it didn’t happen and instead it just became a week of unwrapping and modelling trees and logs. This usually wouldn’t be an issue, I don’t mind modelling or unwrapping, the problem there is that I’m not very good at soft surface modelling, unless it’s a character. I can do that.

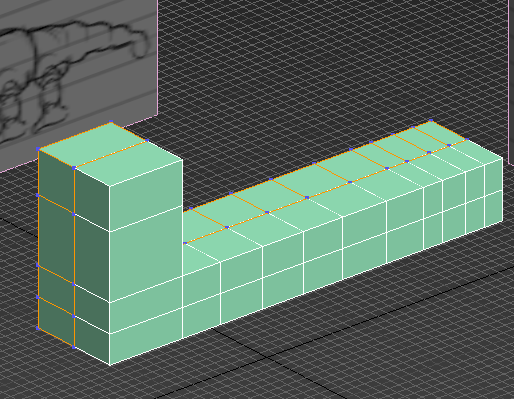
So Monday involved unwrapping the 
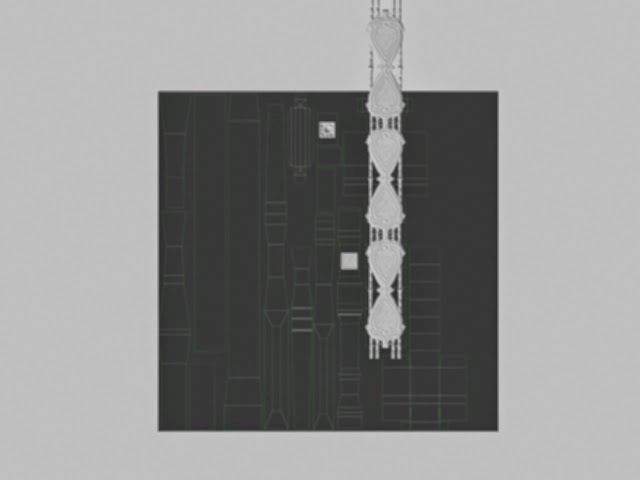
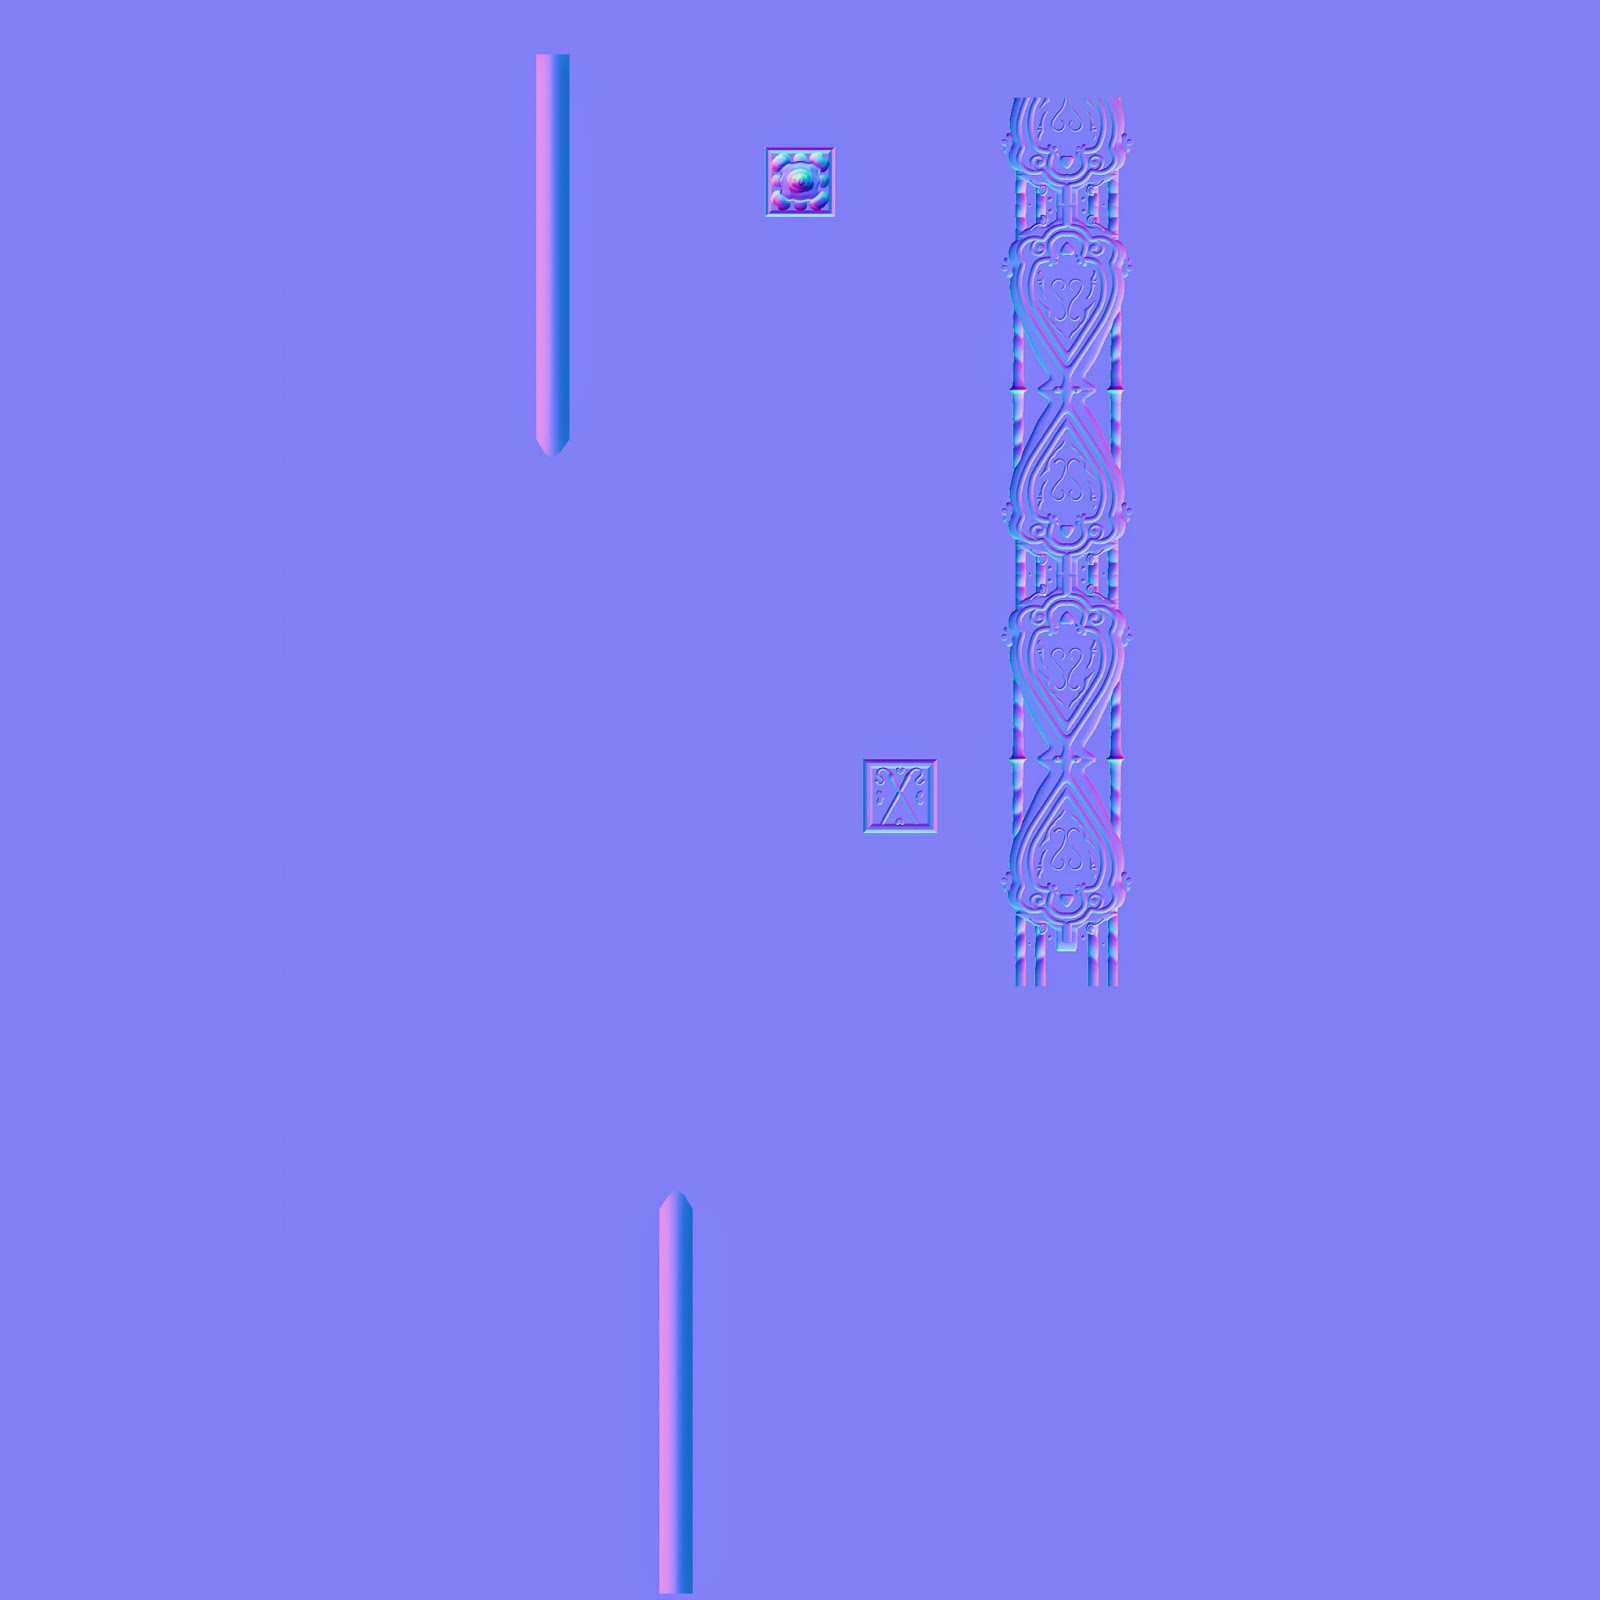
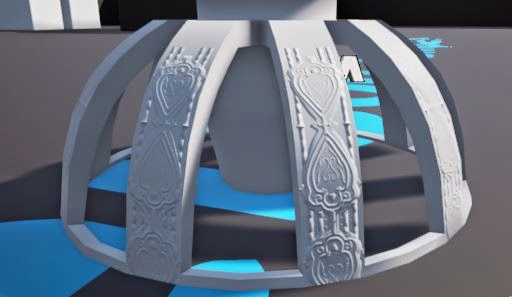
lantern from the previous week, before moving on to modelling the pillar for the hallway that Alice chases the rabbit down, based upon architecture from Christ church in Oxford. The unwrap was also completed during this time.


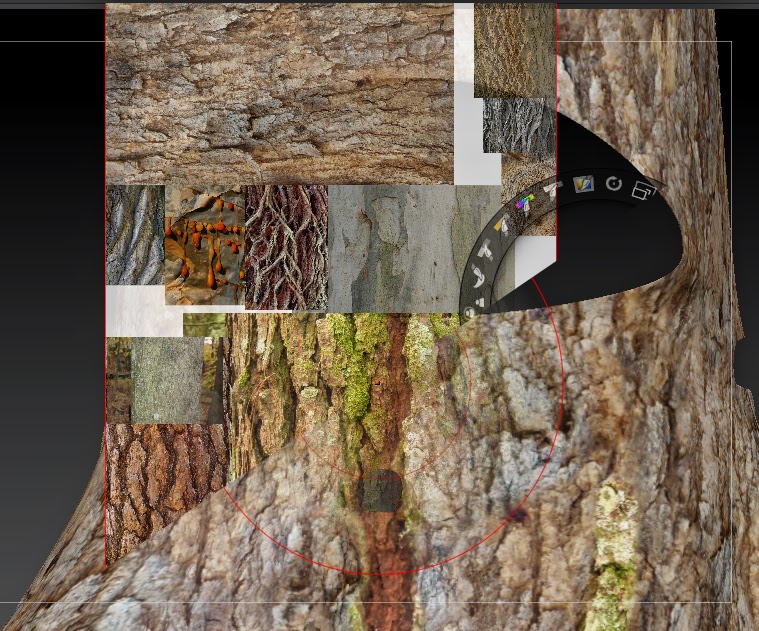
But then the week got much worse. I had to model trees and logs. 

Originally, I only had to model one log and a tree stump where we meet the Caterpillar. During this time I ended up trading the tree stump for two other models as I didn’t have access to the level which presently made it difficult to me to model the tree stump to the conditions that was needed, such as a hollowed out hole on the right which honest passes through to carry on the level, and the proper placement of the roots below as they also used in the platforming sections of this level so it made more sense for the creator of the level to take over this important asset. I then had to produce a hollowed out log and a hollowed out tree. These assets weren’t difficult to create, I only had to worry about the hole placement so the player can see where Alice is travelling while she is inside the asset, and if she can enter and exit the assets in the correct places. 


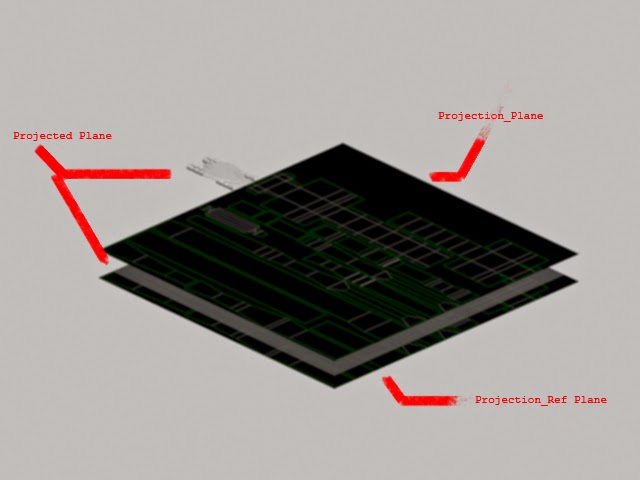
The plan for next week, is the same as last week, learn to projection map and polypaint. This is critically important as I'm heading home for easter, and learning from group members is a much easier option that having to watch tutorials online.

Tuesday 17 March 2015

Week Twenty Three: The Week Where All I Do Is Unwrap A Caterpillar

    Now this blog post is going to be the most thrilling blog post. Perhaps the best post I have ever written, maybe the best you have ever read. All I can say is, it is going to be amazing!

    I spent most of the week, unwrapping a caterpillar! 

Sorry I got carried away
     It's surprising how long it can take a person to unwrap six arms and fourteen legs. Also I have no screenshots of the unwrapping process... which is bad, but I can explain my process. It's basically find the matching part and overlap the UVs to save texture space and get a more high quality texture. The larger the sections are, the more detail I can fit into it. 
The Caterpillar looked into the void, saw his texturing future, and now he's screaming for eternity. 
     I redid this layout five times, and this is the most efficient of the layouts, and even now I'm sure I can improve on this, due to the large spaces doted around the sheet.

     By Friday though, the unwrap and layout was done, after working four eleven hour days on it. And then Friday was spent finishing modelling the Shisha, modelled a lantern and modelled a hand for one of my team members as they were struggling with it... and I didn't want to model a tree stump. 


     Next week's plan is to finish modelling the assets, as well as to learn polypainting in Z Brush and projection mapping in 3DS Max so I can produce high quality texture sheets.

Tuesday 10 March 2015

Week Twenty Two: Modelling a Dragon Caterpillar

      So most of this week was devoted to modelling the caterpillar. This filled up Monday to Thursday with creating limbs, a dragon face and getting rid of ngons but also making sure that the body was mostly constructed of polys. 


      I started off creating a box in the form of the caterpillar orthographic. I followed by using swift loop to mold the model to look more like the orthographic. To create the antennae I used a spline and extruded a cylinder. 


Basic build of face, trying to get the loops in the correct places.


Added a relax modifier to the face to make it smoother and more natural softer edge loops.

Quick facial rigging.


     When I'm producing a face, I like to colour code the topology to make sure I have the lines right so the face will articulate properly. This face was one of the most time consuming elements of this model. I also rigged the face at one point to check the distortion around the mouth. 

     Friday was the first day of unwrapping of the caterpillar.

I love unwrapping
I REALLY LOVE UNWRAPPING
      I guess next week blog post is going to be interesting...